Open HardwareAssembly Instructions
Guides for installation and assembly of the LulzBot line of products made by Aleph Objects, Inc.
Guides for installation and assembly of the LulzBot line of products made by Aleph Objects, Inc.
Follow the steps in this tutorial to adjust the Z-axis offset on your LulzBot Mini. The height of the Z-axis offset influences print results, as the thickness level of the first layer is a crucial aspect to any print. This tutorial will help you adjust the thickness level of the first layer, improving print quality in the process.
Before beginning the tutorial, it's important to understand some context around how the Z-axis influences print quality.
When auto-leveling, the nozzle touching the washers determines the 0 position on the Z-axis.
This means the bed is actually slightly below washers, thus Z offset: -1.35 means the printer will start the first layer 1.35 mm below the top of the corner washers (the 0 position in the Z-axis).
Due to a few different factors, including filament used, print bed treatments, and other modifications, the thickness of the first layer may need to be adjusted.

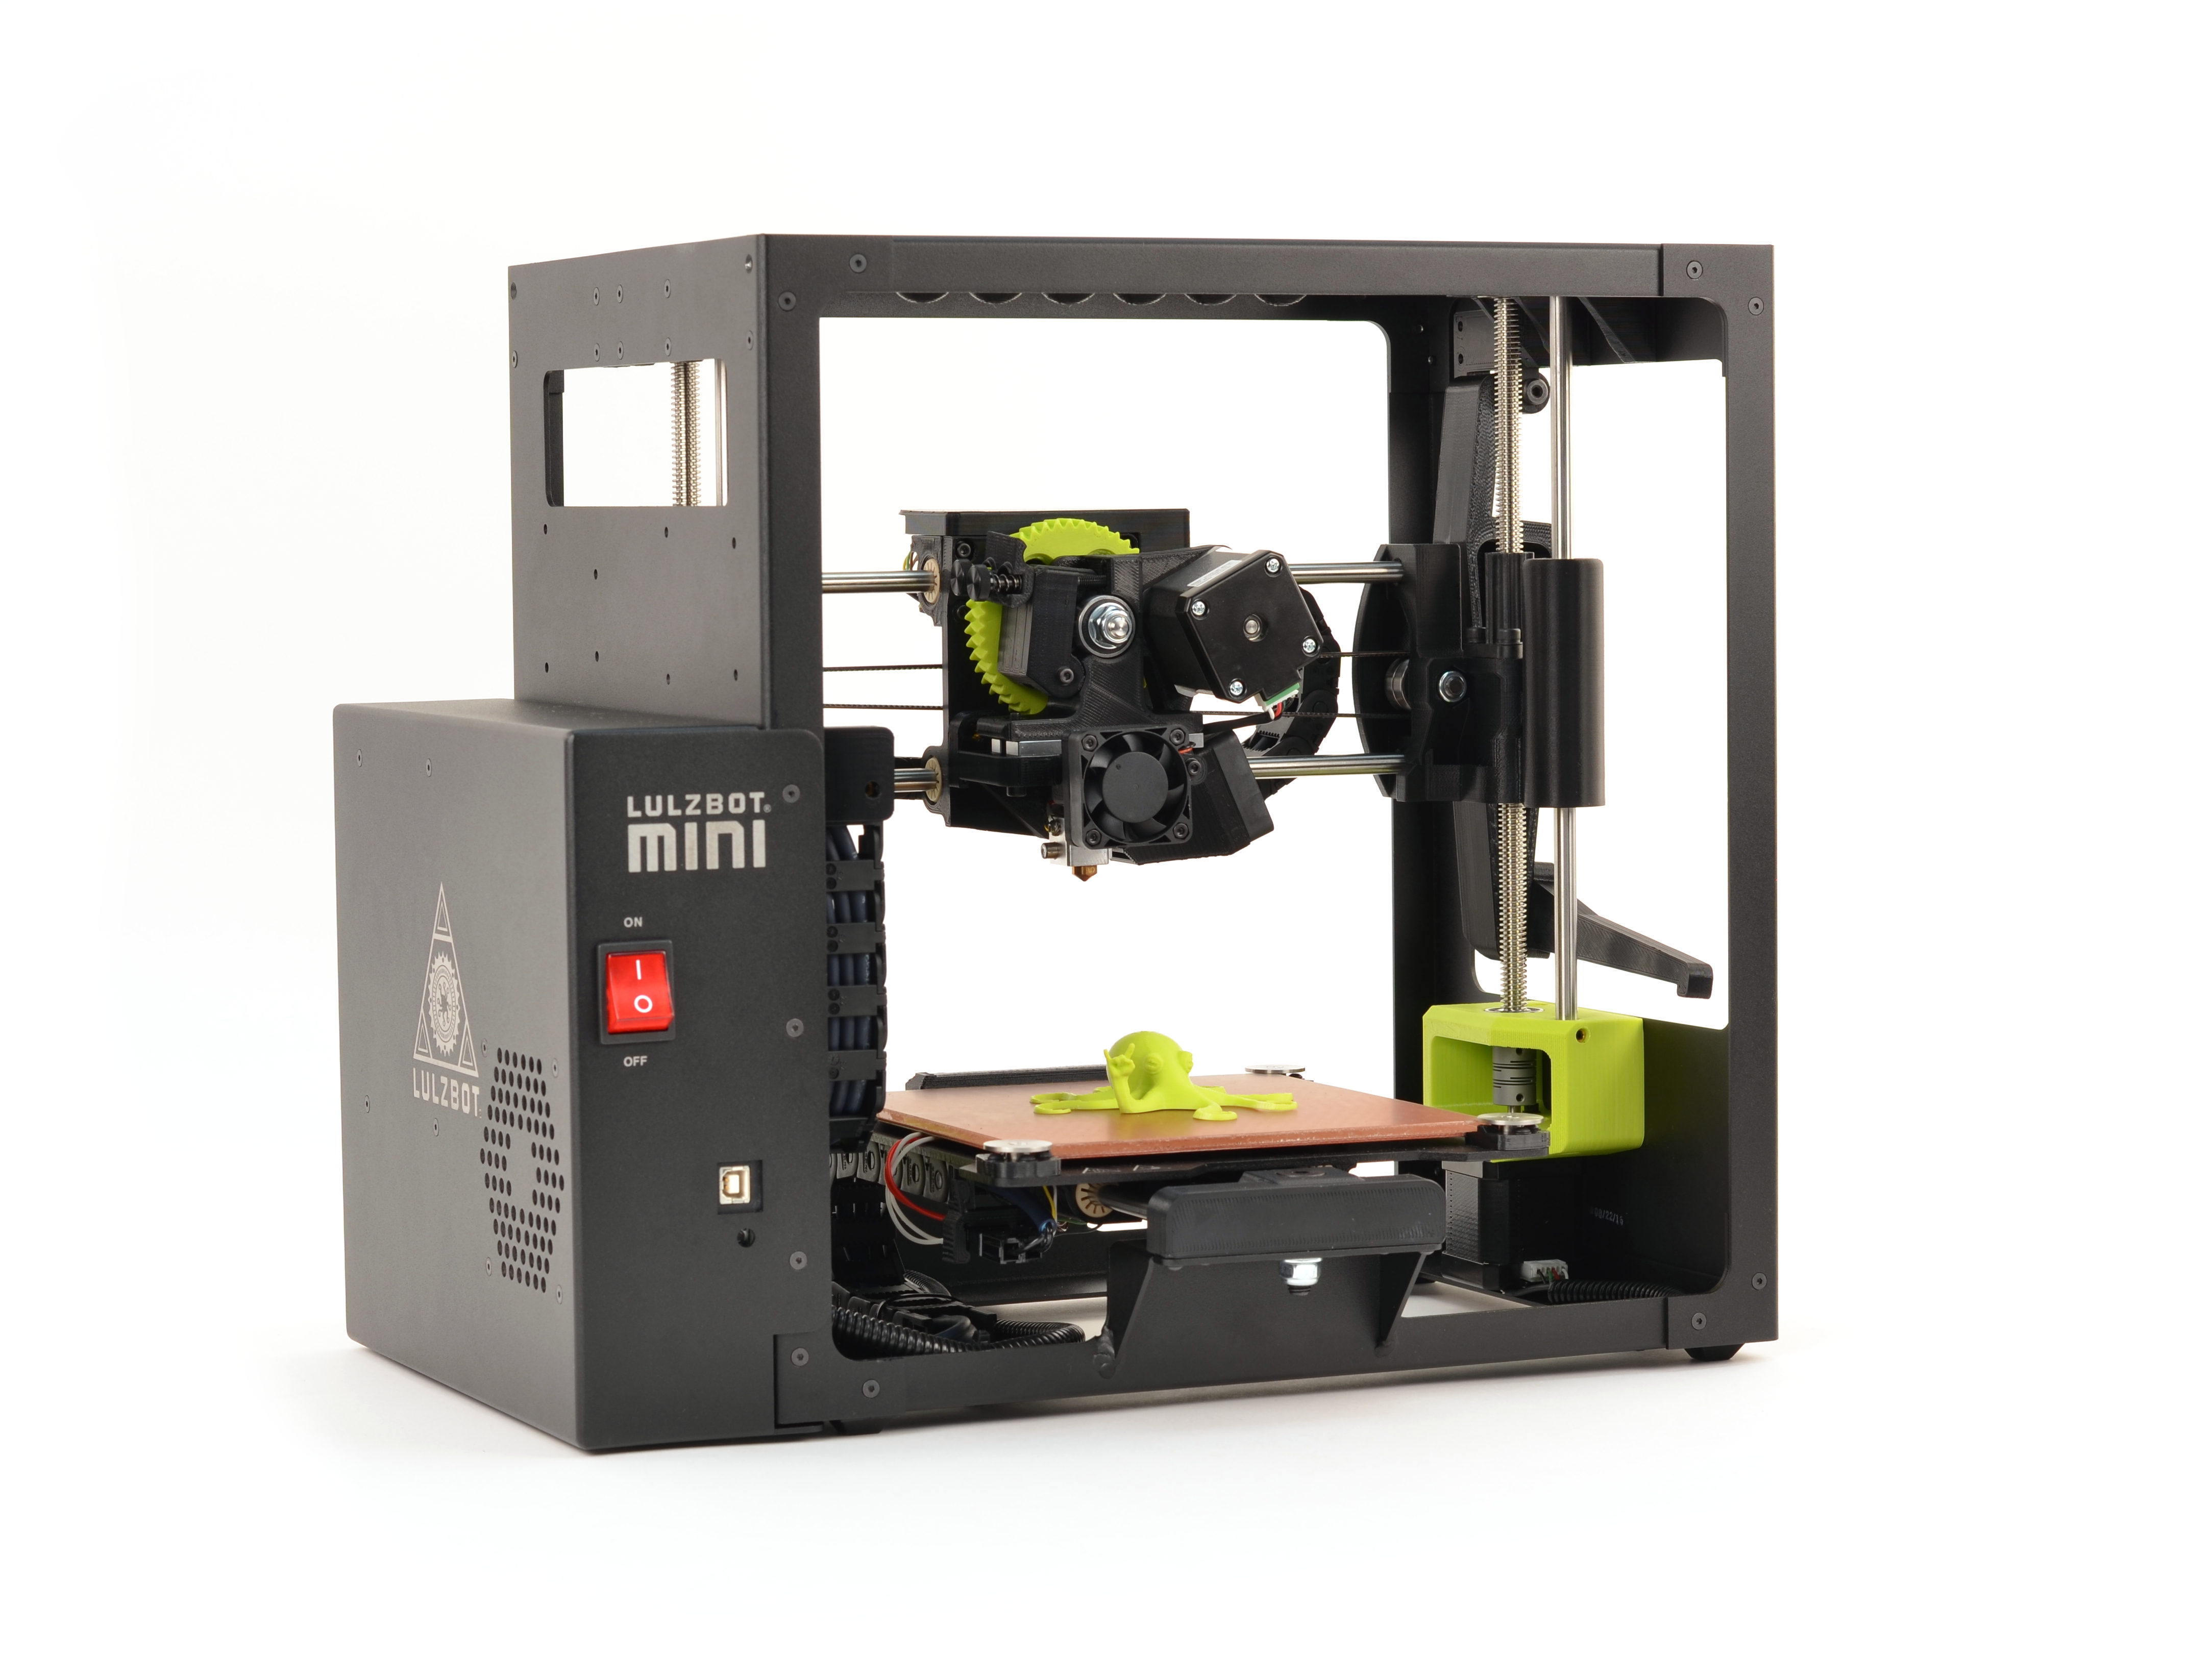
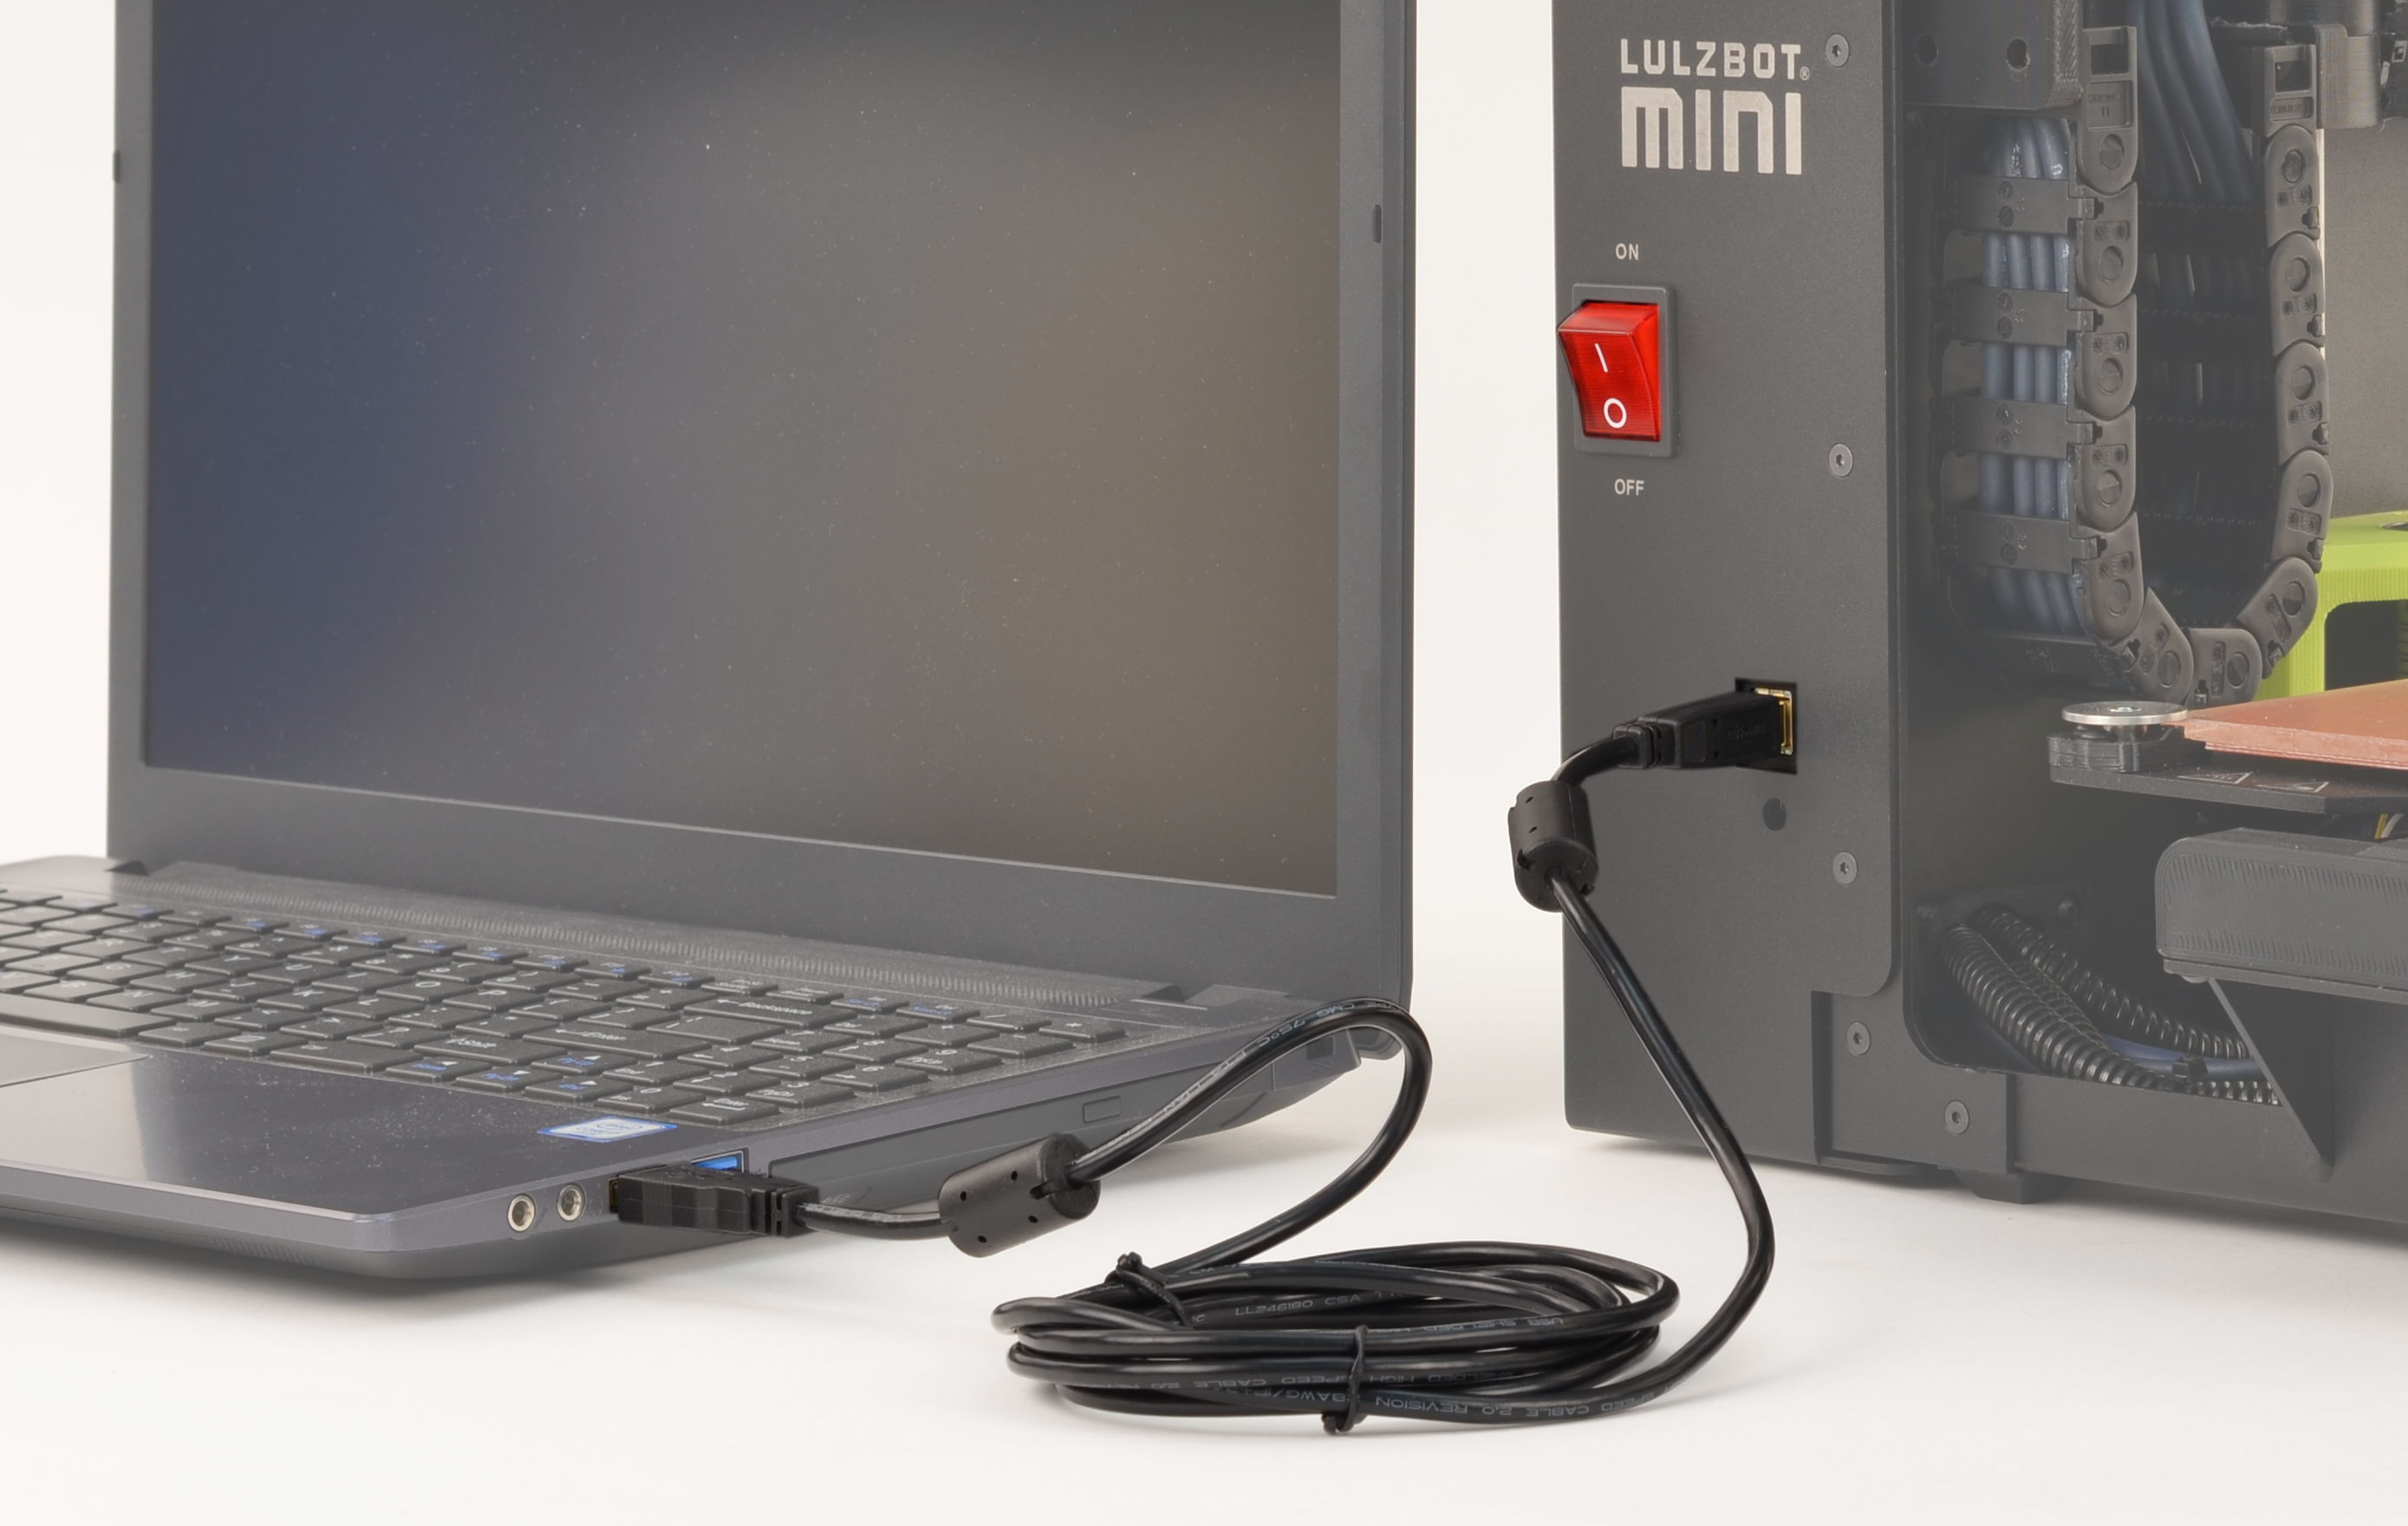
(1) LulzBot Mini Desktop 3D Printer
(1) USB cable, included with your LulzBot Mini
(1) GNU/Linux, Mac OS X, or Windows-based computer
4A
Verify your LulzBot Mini is plugged into computer with power off.
4B
Power on printer.
4C
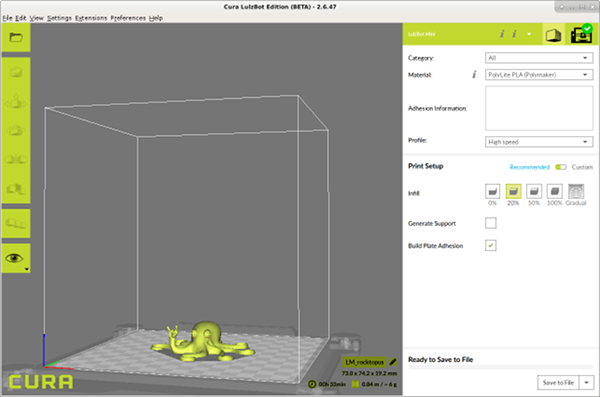
Load test model into Cura.
4D
Open control window.

5A
M851 -> Reports current Z offset in millimeters
5B
Note: Before printing, be sure to make small adjustments to avoid damage to the nozzle or bed.
Example: M851 ZXXX -> Adjusts Z offset to "XXX" mm
M851 Z-1.1 -> Adjusts Z offset to 1.1 mm
5C
M500-> Save setting change

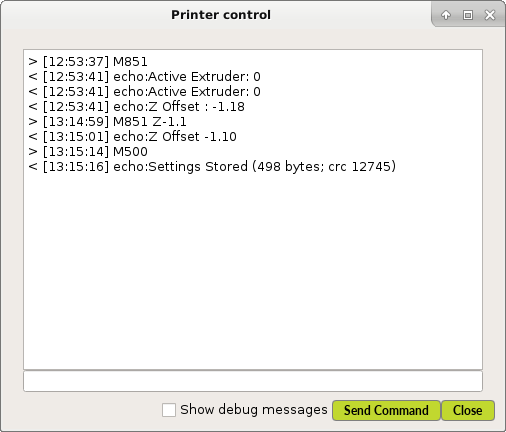
Note: A few tests may be necessary to dial in the best Z offset for your printer