Open HardwareAssembly Instructions
Guides for installation and assembly of the LulzBot line of products made by Aleph Objects, Inc.
Guides for installation and assembly of the LulzBot line of products made by Aleph Objects, Inc.
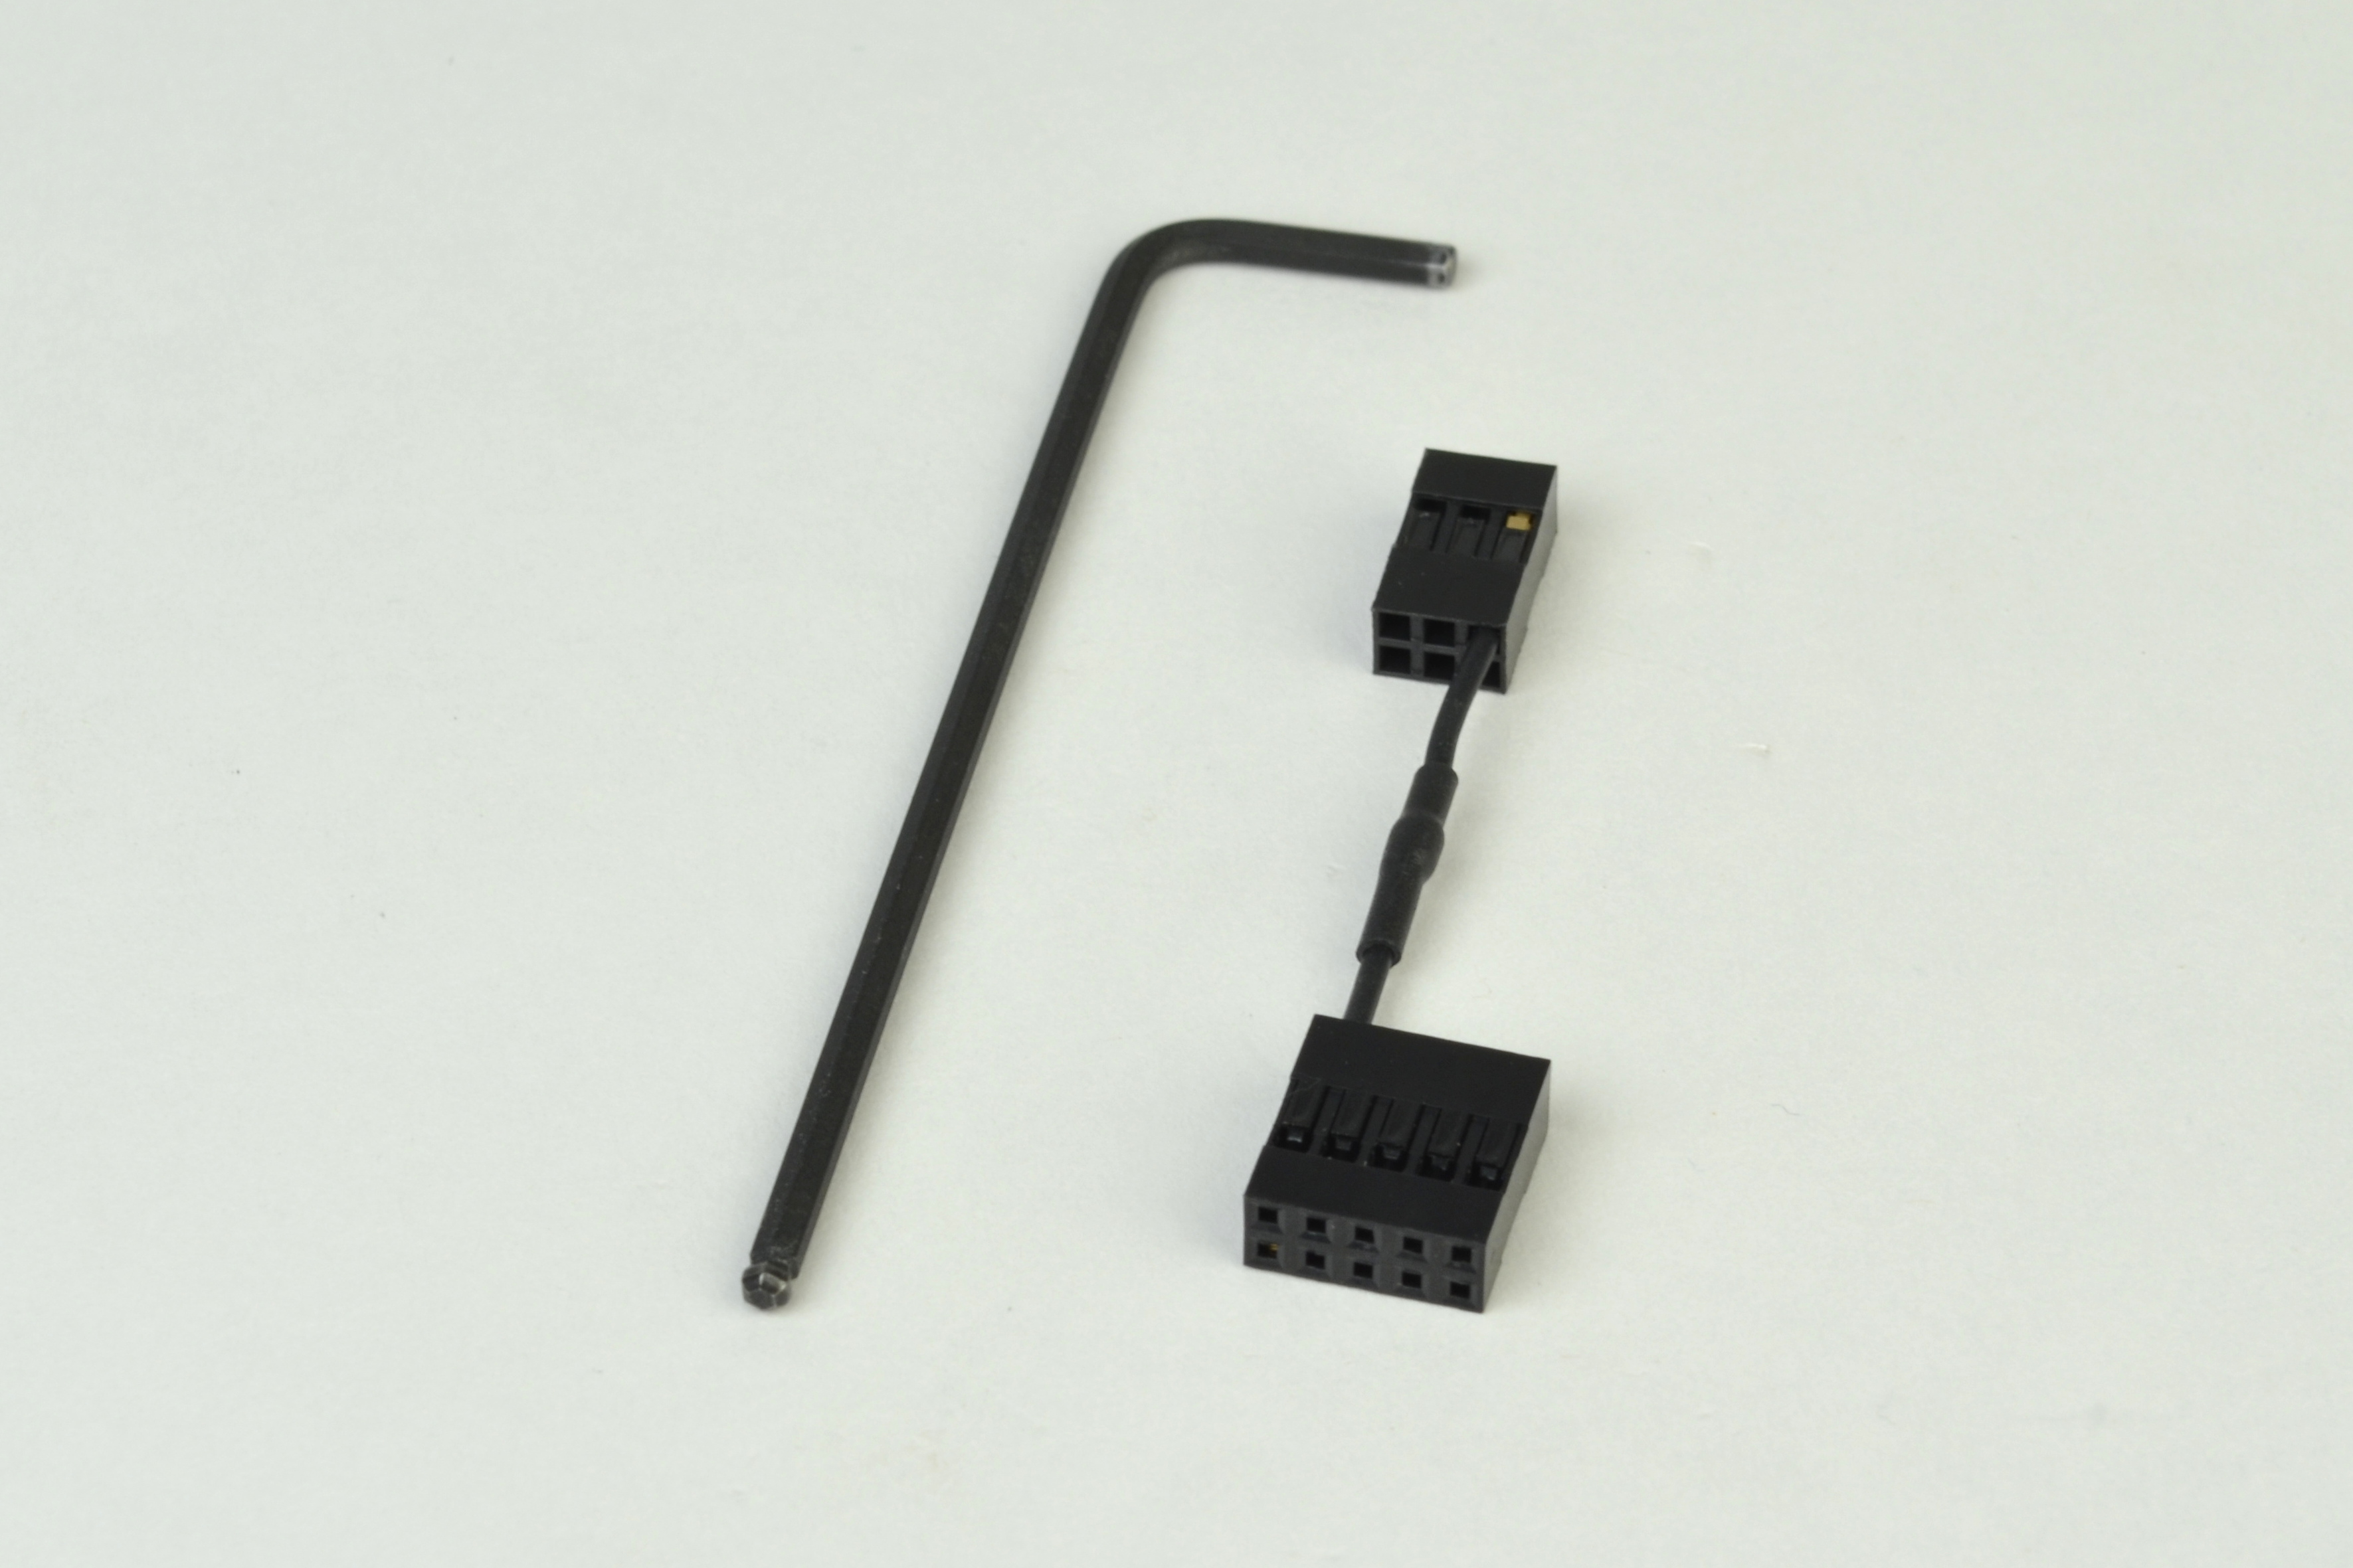
If you do not have the jumper, contact Support@LulzBot.com for more information. The wrench is included with your TAZ 3D printer toolkit.
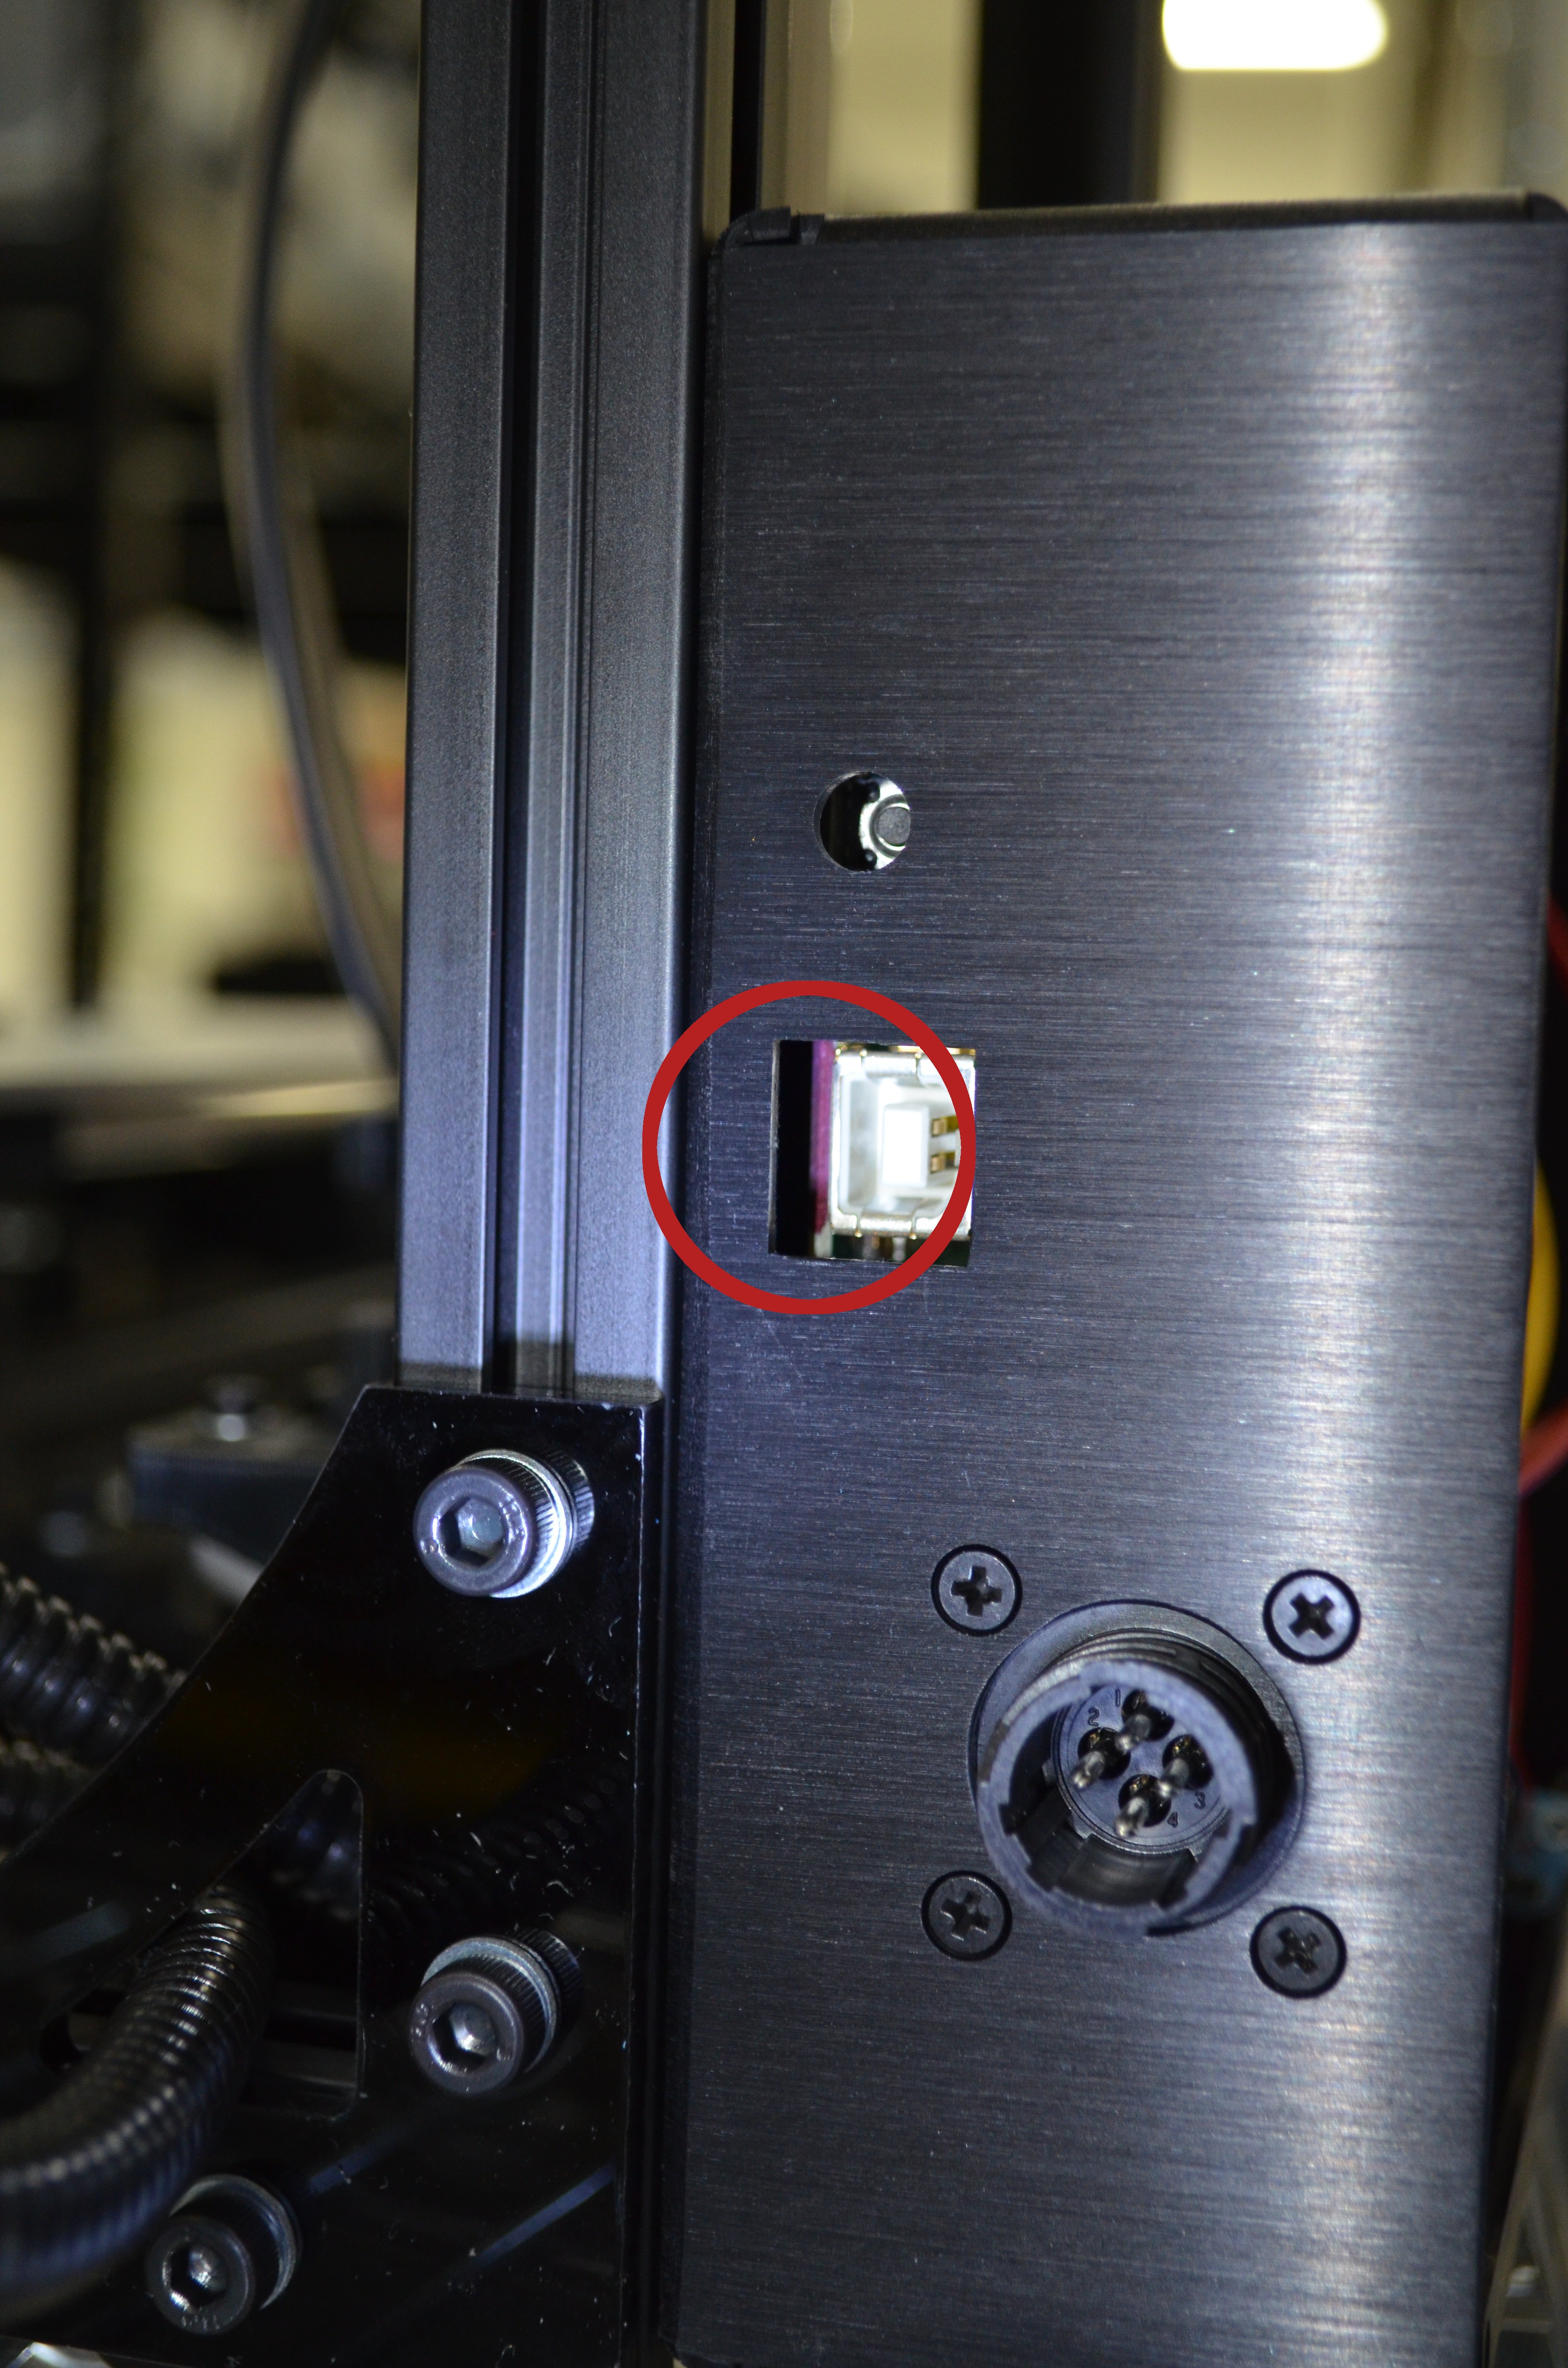
Use the flashlight or lamp to illuminate the inside of the USB port. If the Red edge of the board is visible you do not need to proceed, as your board has this ESD protection built in already.
Make sure that the TAZ 3D printer is powered down and unplugged from both the electrical outlet and the USB connection.
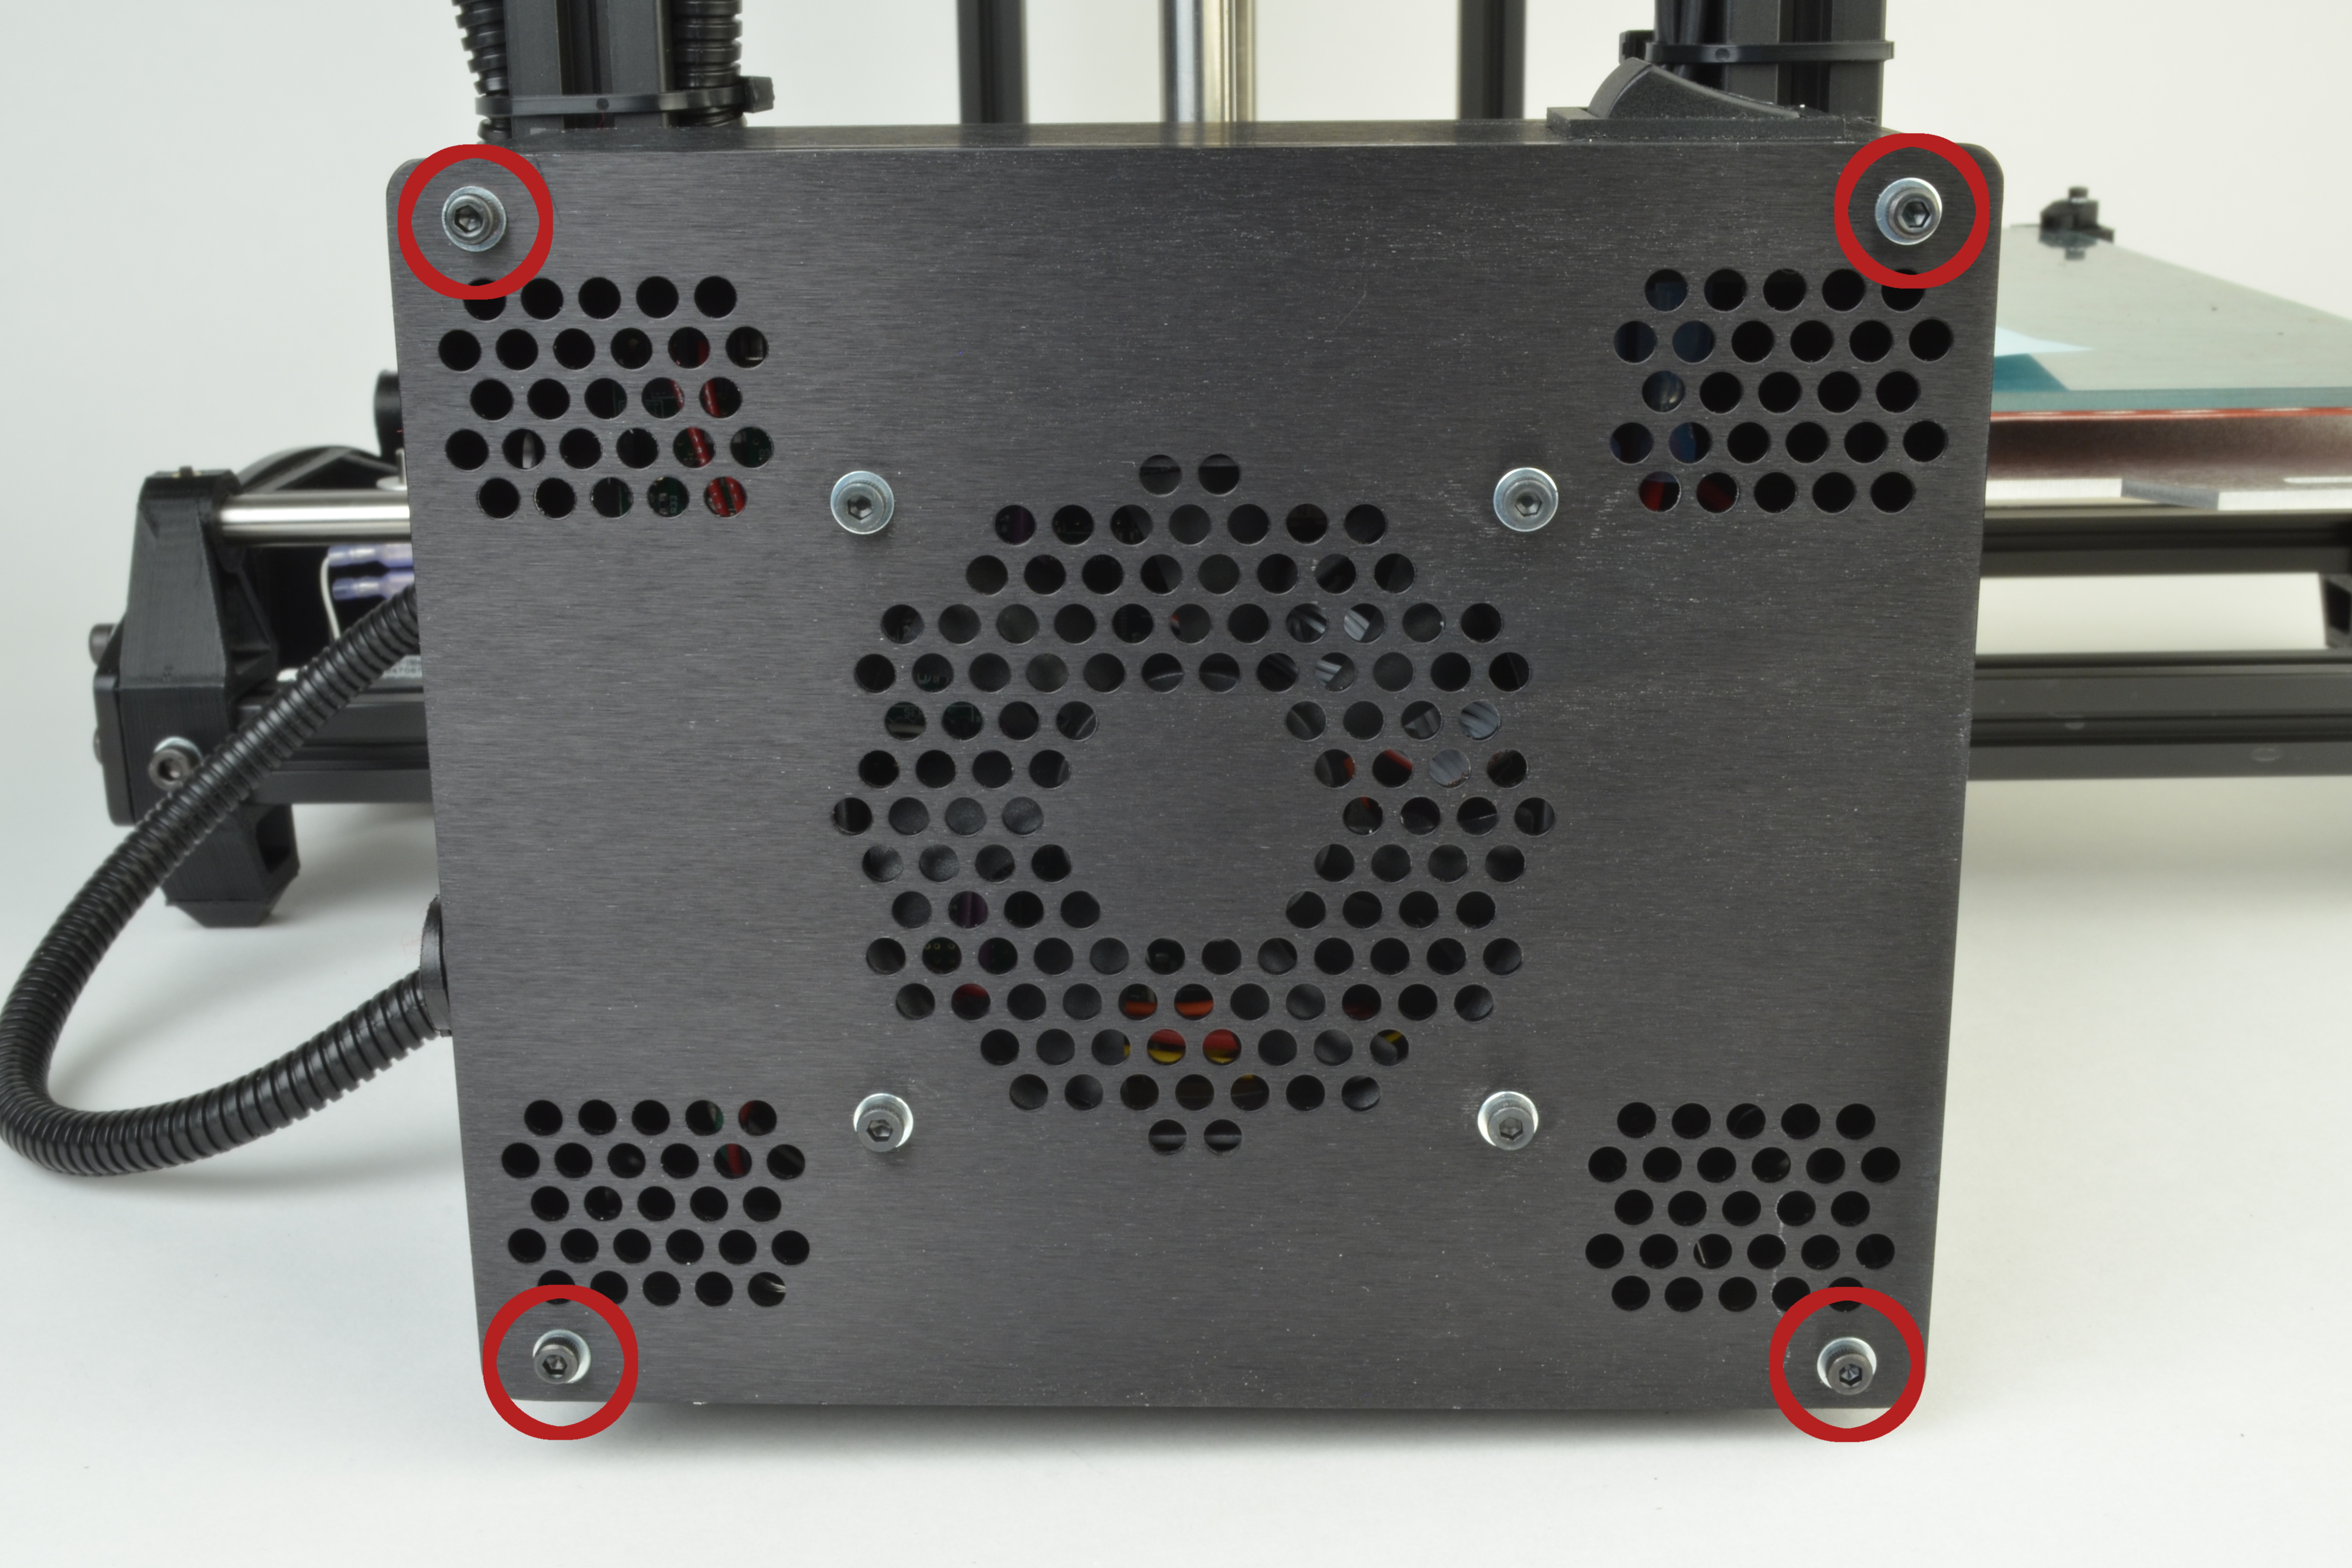
Using the 2.5mm wrench, remove the 4 M3 screws located at each corner.
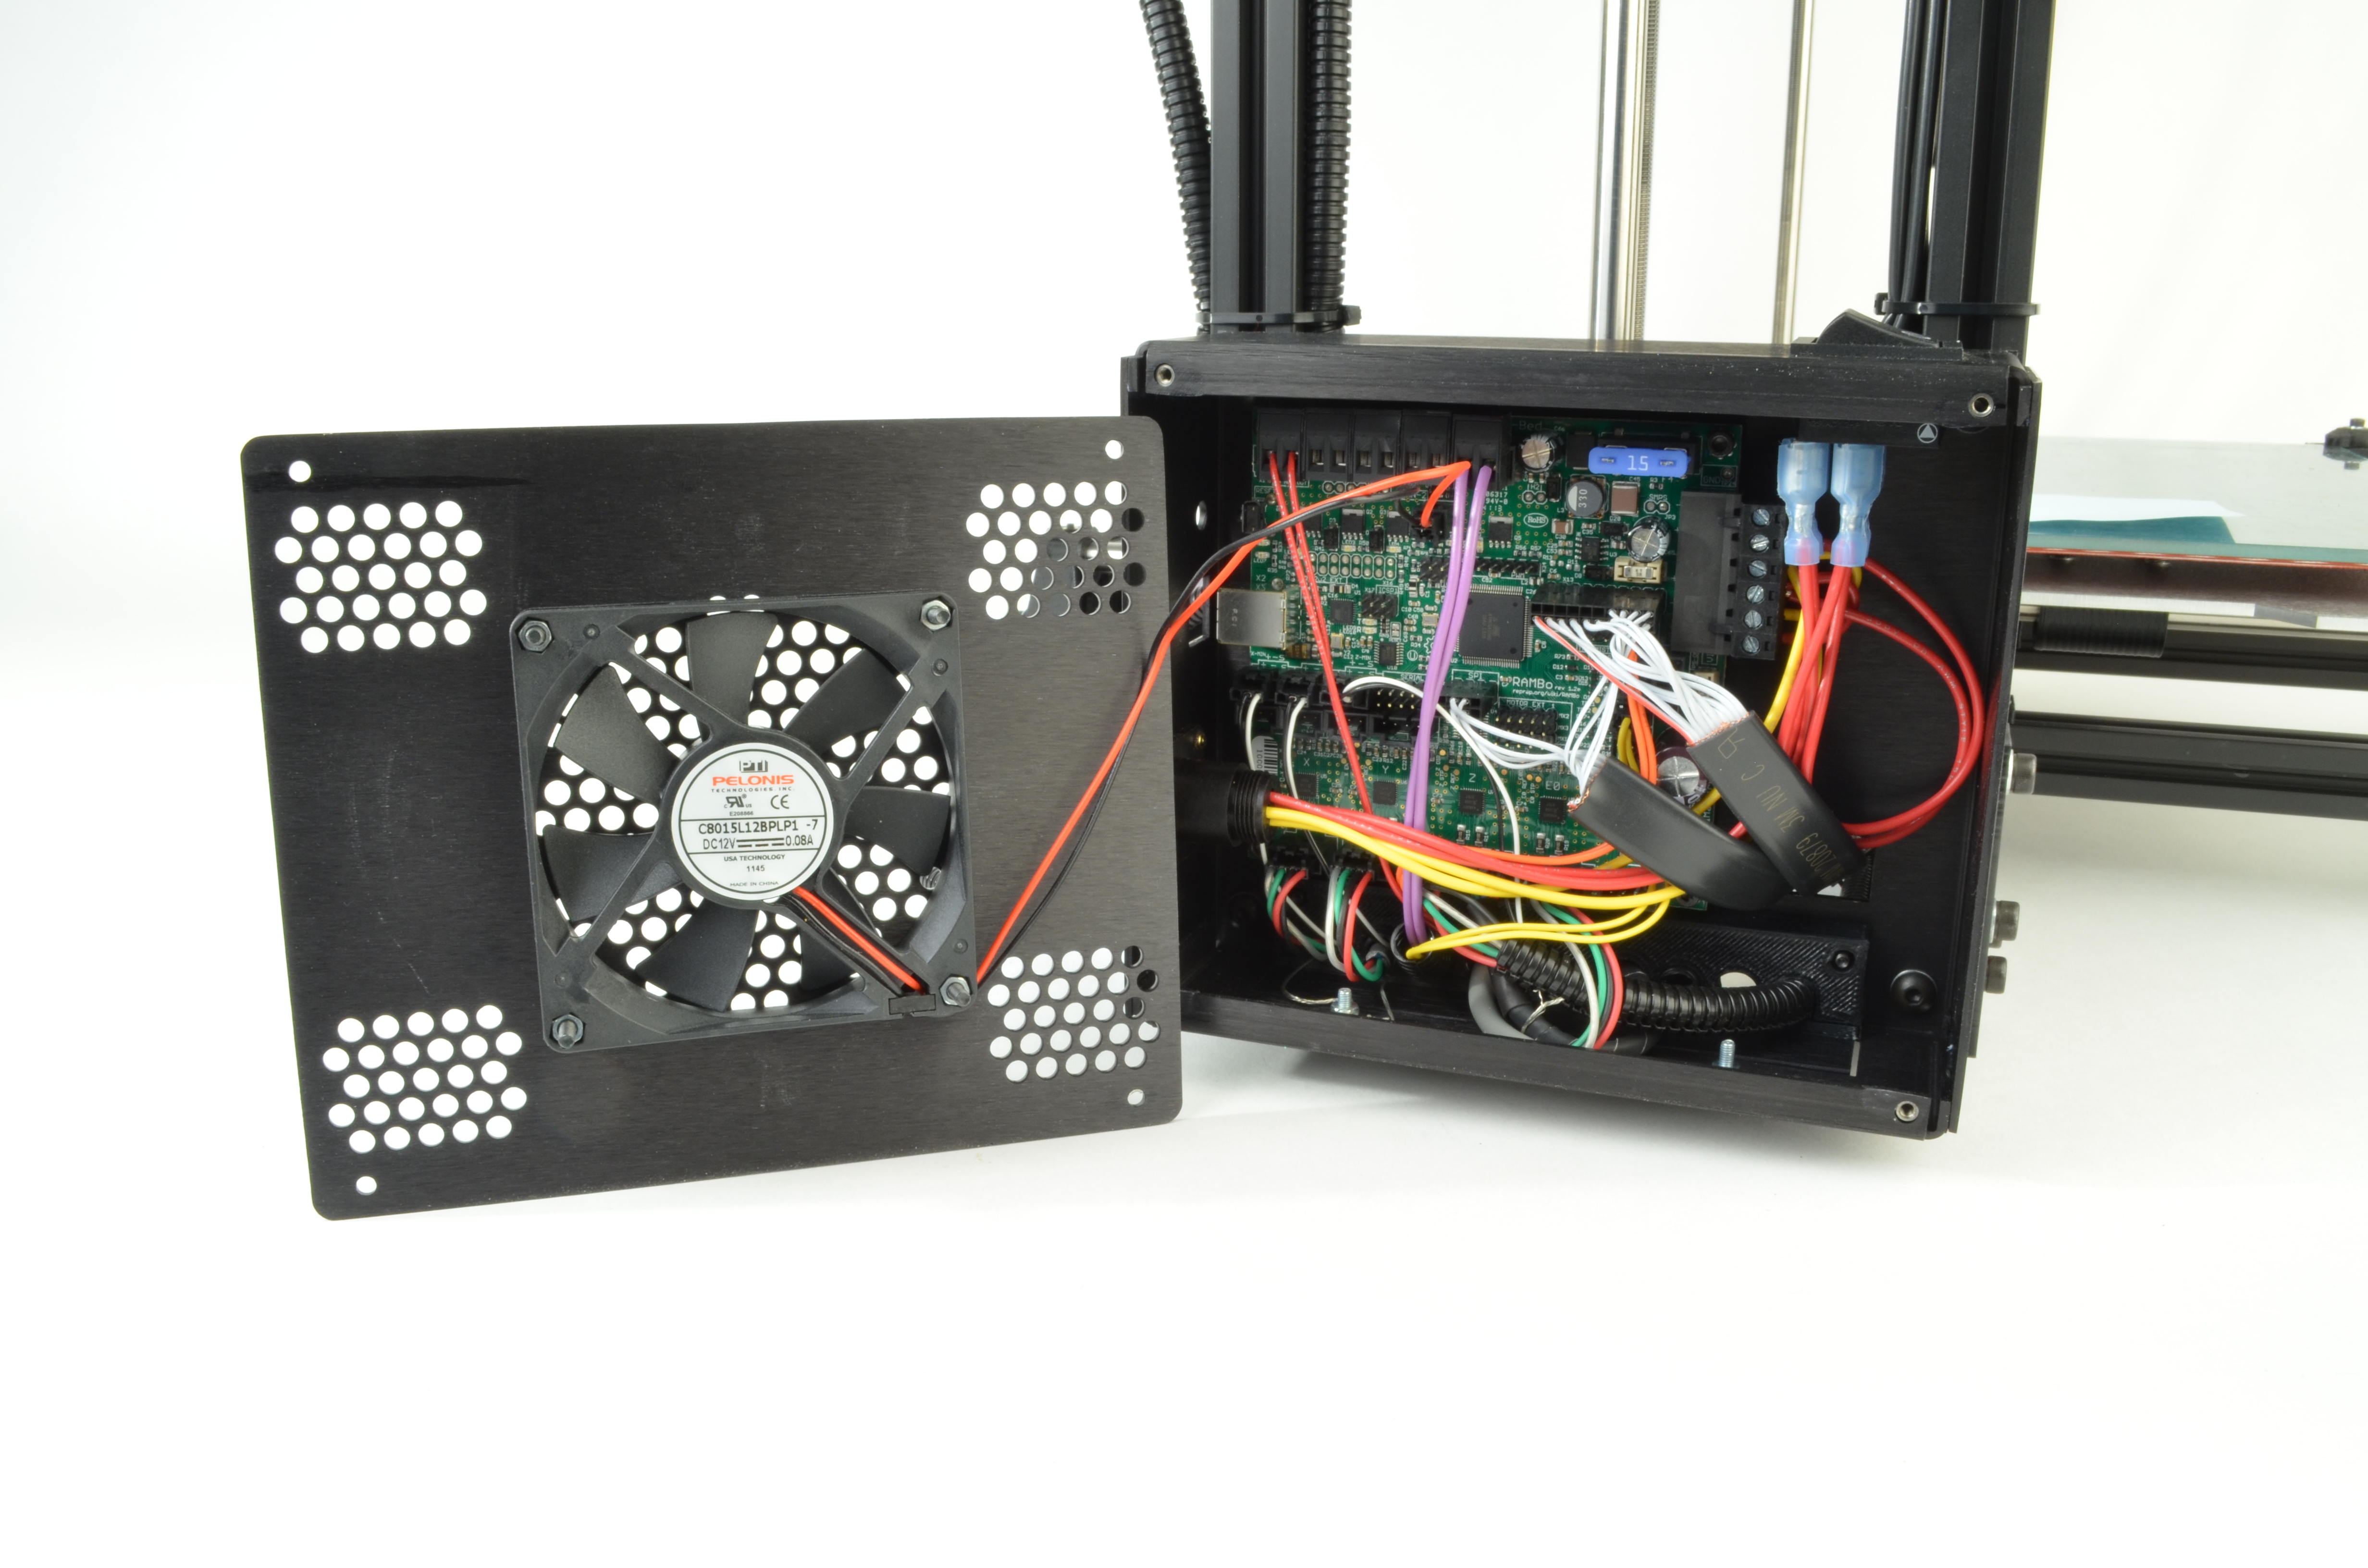
With the 4 corner screws removed, carefully remove the cover. The cover can be removed without disconnecting the fan by rotating the electronics cover to the left and leaning it against the rear of the printer.
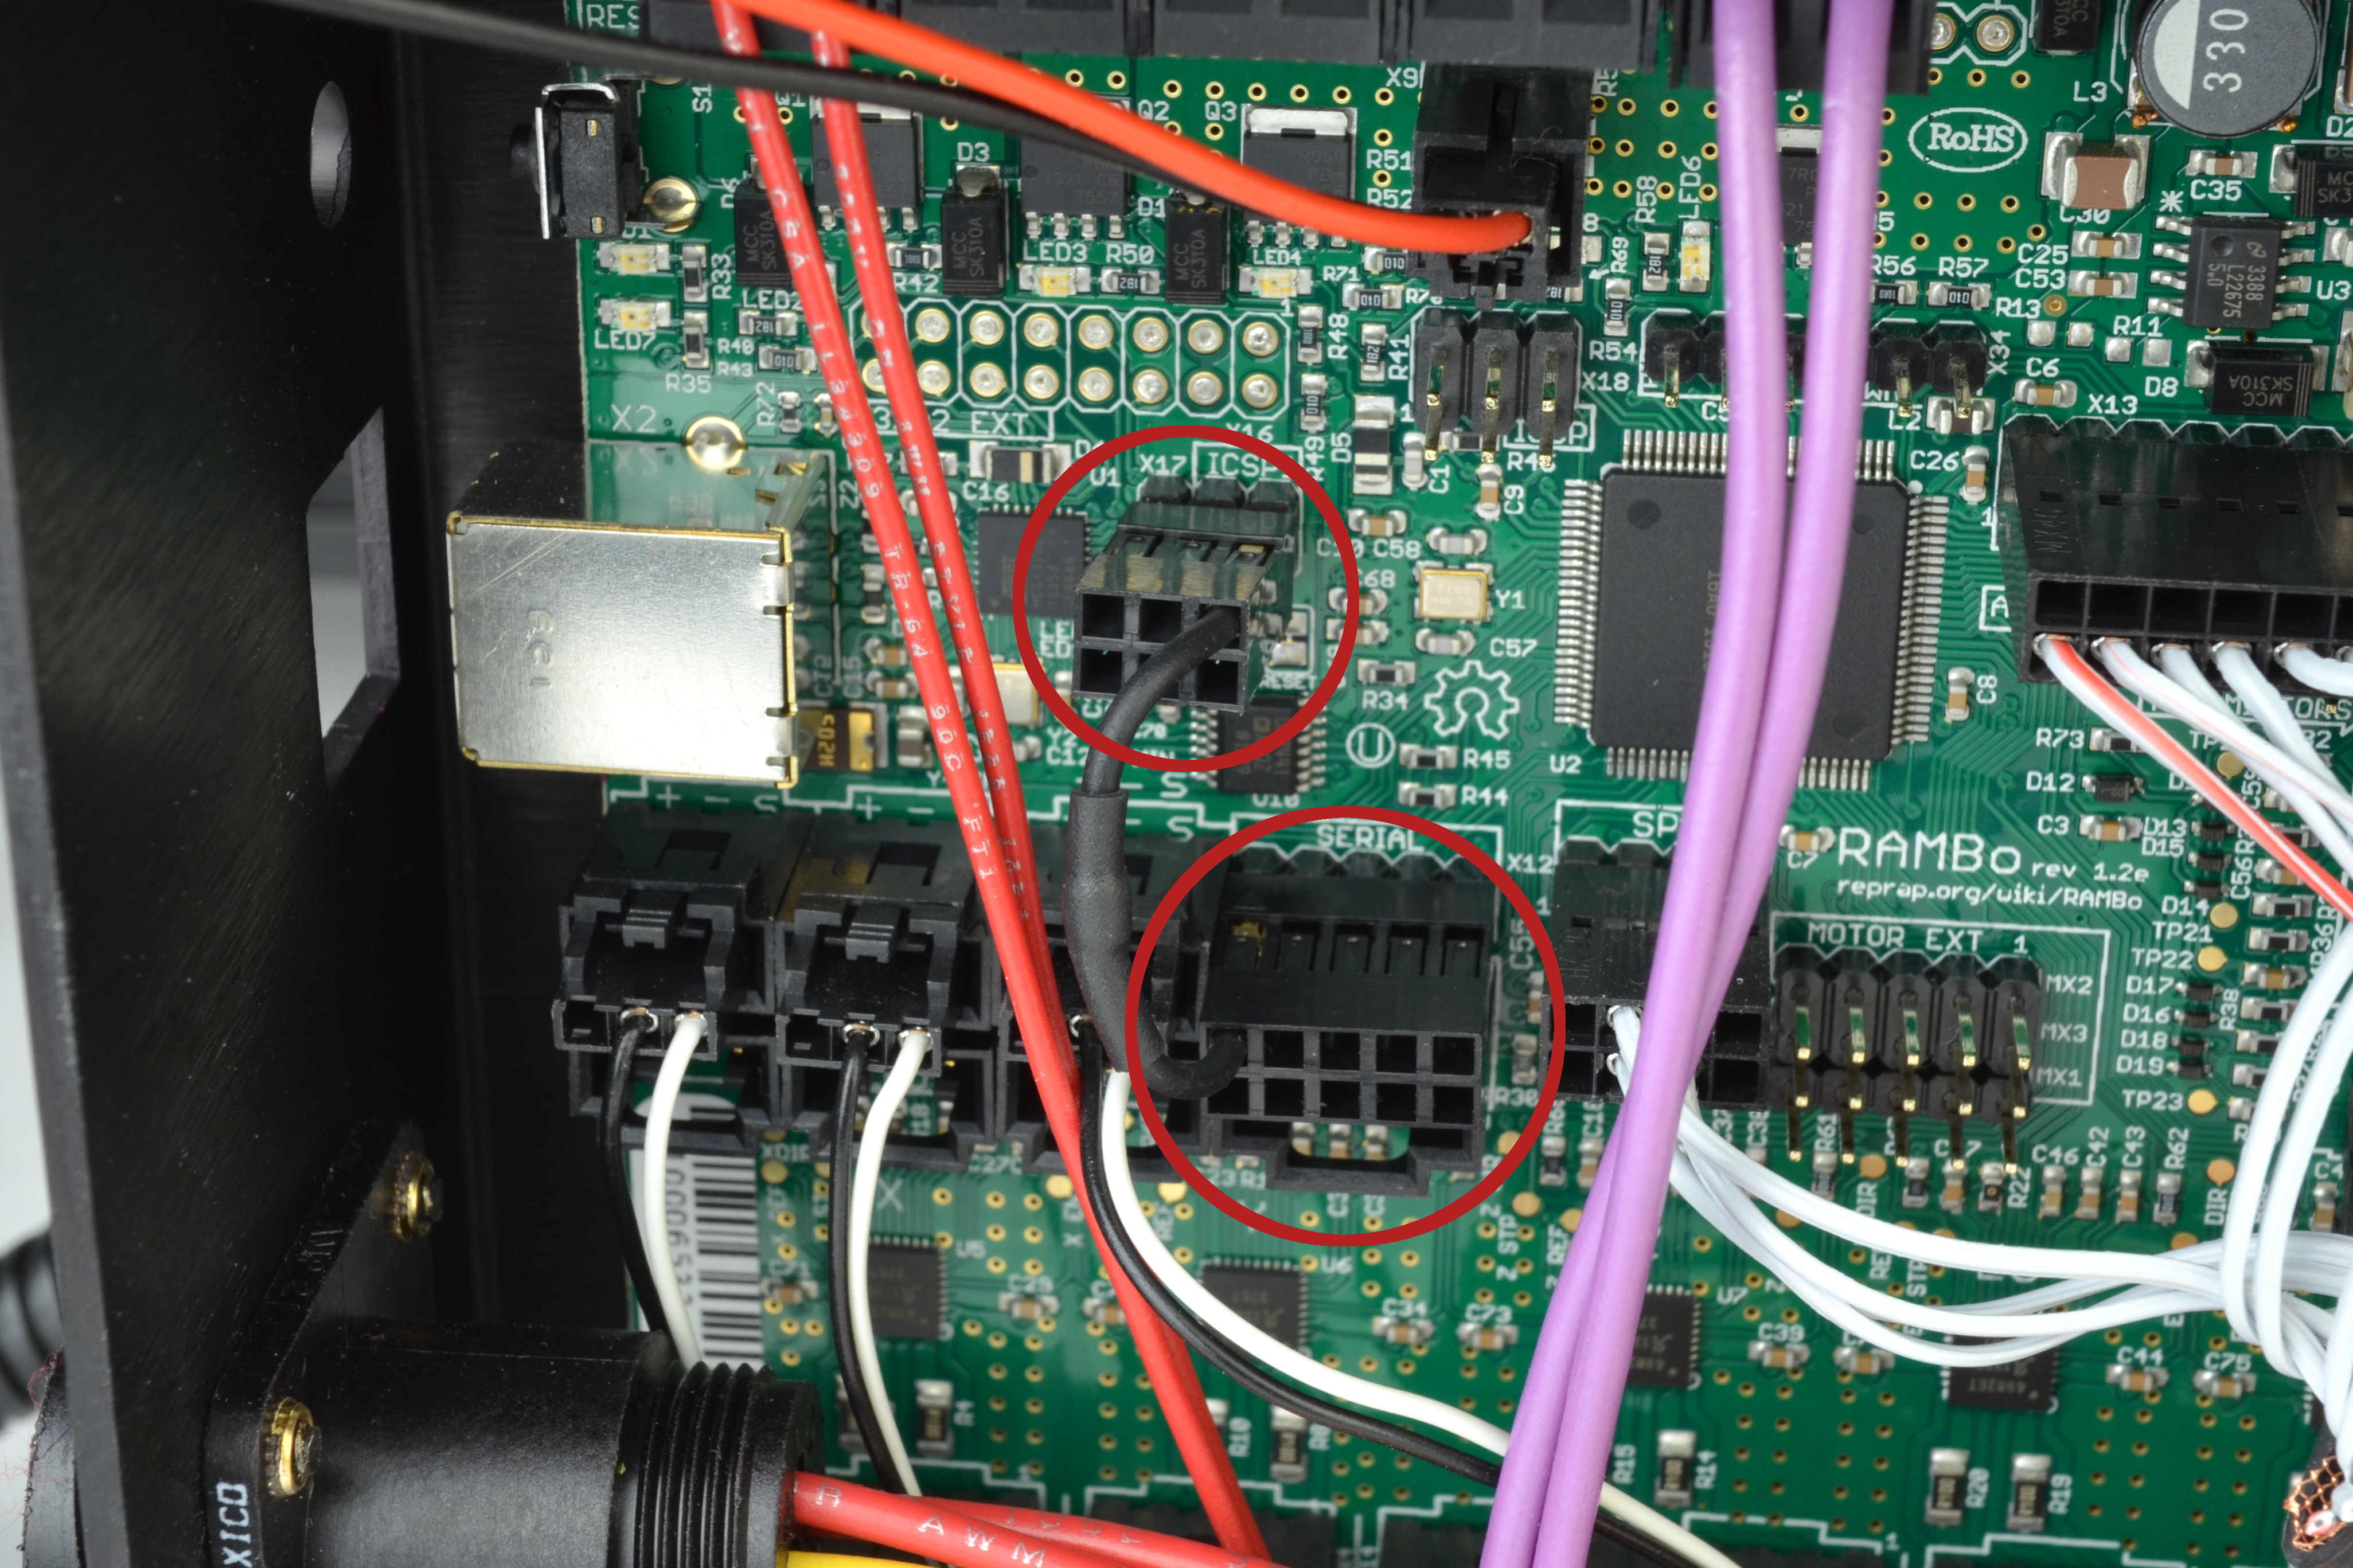
Some TAZ 3 customers will have the jumper already installed. If you see the jumper cable installed, near the USB port housing and running from ICSP1 to SERIAL you do not need to continue.

The jumper cable will only need to be installed on RAMBo electronics version 1.2(a-f). If you have a RAMBo v1.0 or v1.1, this fix is not needed.

The two connectors are located on the left hand side of the board, near the USB plug.
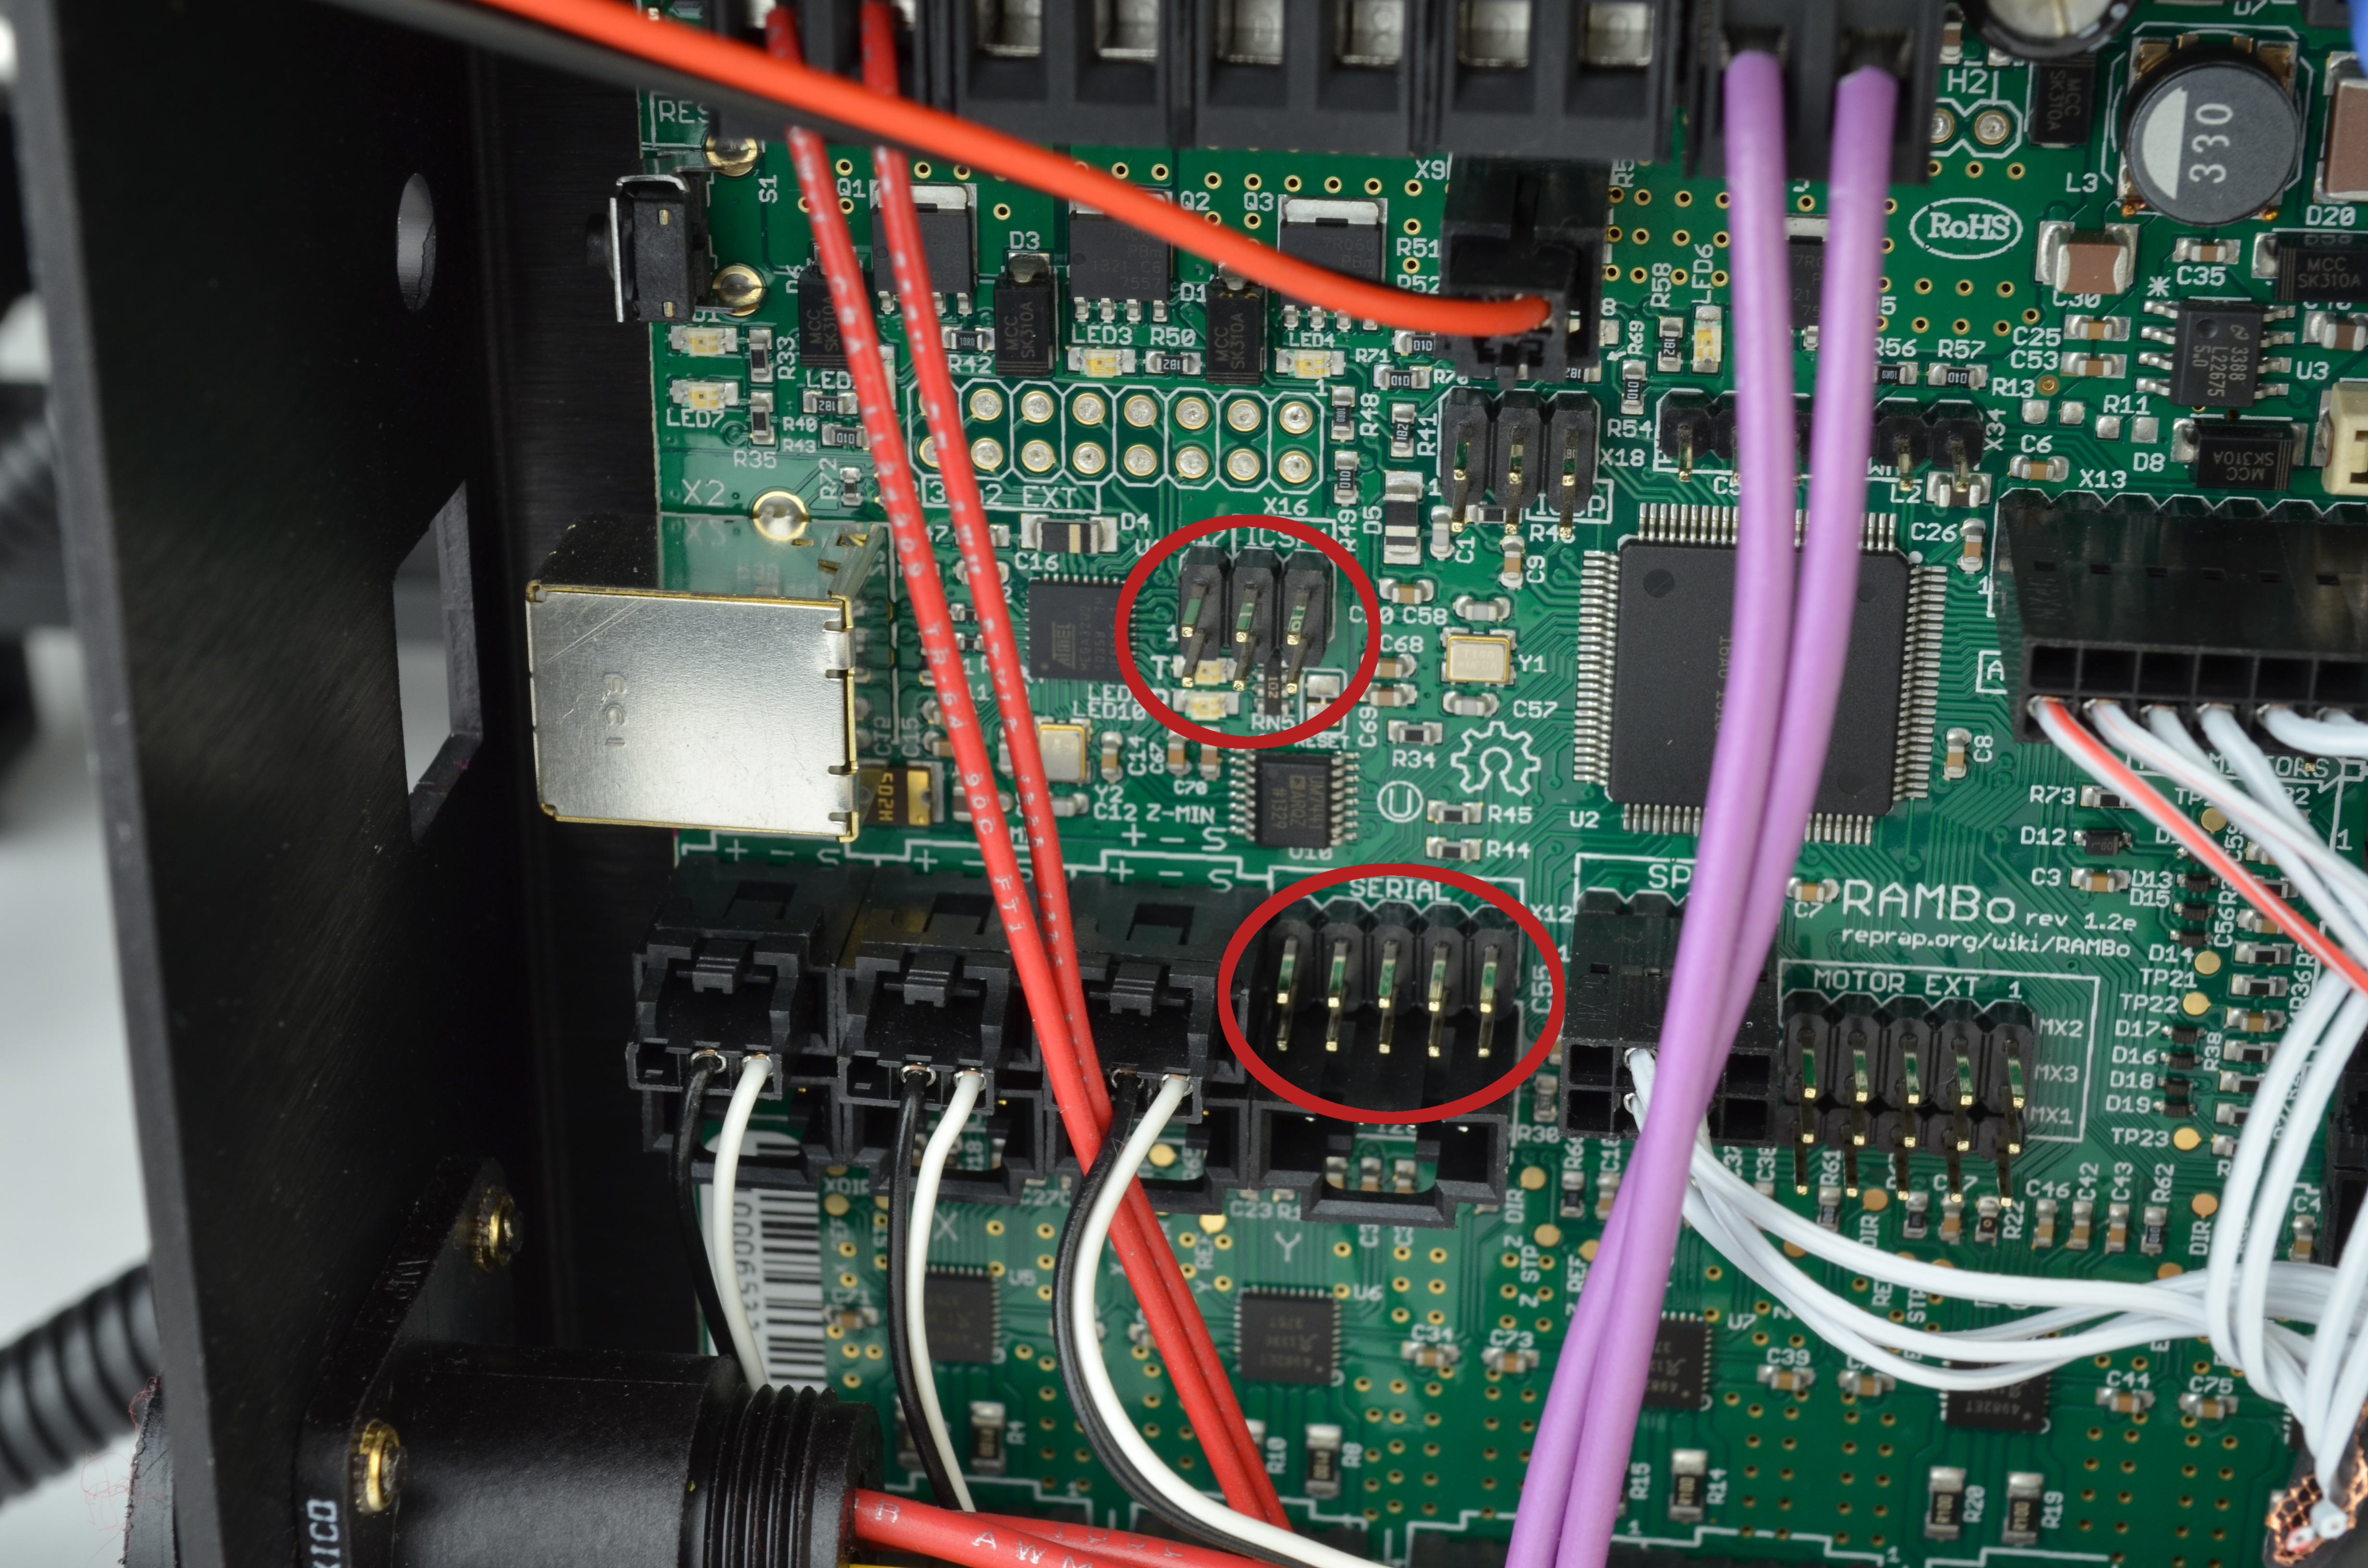
The 6 pin connector will plug into the 2x3 header pin labeled 'ICSP1
Make sure that the sole wire is on the upper right hand corner of the connector housing.
The 10 pin connector will plug into the 2x5 header pin labeled SERIAL
Make sure the only wire in the large connector is on the upper left hand corner of the connector housing.
Reattach the electronics cover and use the 4 screws to resecure the cover. Plug in the printer and print your favorite item as a test print.
If you encounter any difficulty, have any questions or need further assistance, contact us at Support@LulzBot.com.
